Early Photography
The different cameras
Camera Obscura and Camera Lucia
The Camera Obscura was the first camera able to project an image onto a wall or paper. This was used by artists to accurately draw images of people who allowed themselves to be the subject of the images however the camera itself did not manage to take a still portable photo. The camera projected an upside down image through a tiny hole now known as a pinhole camera however did not manage to capture it as still. This camera created a piece that could not be recreated.
The Camera Lucida
The Camera Lucida was similar to the Obscurer as it also was not able to create a sill image onto paper. However he camera Lucida unlike the Obscurer was a portable camera therefore allowing artists to take the Lucida with them. When using the camera Lucida the artit sees the scene and the drawing surface at the same time meaning they can be more accurate in there final image however neither cameras could print an image.
The 'daguerreotype' and the 'calotype'
the daguerreotype was the first commercially successful photographic process. The image was a direct positive made on a silvered copper plate. The surface of the daguerreotype was similar to a mirror and the image was made directly onto the silvered plate. This therefore was the first successful way of making a photographic image however the image was very fragile as it could be simply rubbed off the plate with a finger. The image could also change between a positive and a negative depending on the light and the angled view. Another disadvantage of this was that the daguerreotypes at first used rather slow lenses meaning they were unsuitable for portait images. However later different lenses were created reducing the speed of the shutter and allowing the opportunity for portraits to be taken.
The calotype
The calotype process involved a negative image that could produce multiple positive images by contact printing. This was a lot more convenient that the daguerreotype process as the daguerreotype created only one image that could not be copied. The calotype used paper coated in silver iodide. This was made by dipping the paper into different substances such as silver nitrate and then drying it again. This was to ensure that the paper became insensitive to light once the image had been printed onto the paper.

Brief Photography History
Brief Photography history.
(Top Left) William Henry Fox Talbot developed the Calotype. The Calotype had a very big advantage over the Daguerreotype as it could be copied. However the Calotype did lack the quality of the Daguerreotype.
(Top left - 2nd in) This is one of Talbot’s photogram experiments. Here the leaf shows to be darker in some paces compared to others due to the transparency fluctuates.
(Top right - 2nd in) The Daguerreotype type announced in 1839 was a type of photograph printed onto a metal plate. The daguerreotype had one main disadvantages: the images could not be copied.
(Top right) The camera Lucida was a smaller apparatus and was released after the daguerreotype. It was a more portable device.
(Middle right) At the beginning photographic themes were very similar and most only took portraits and landscapes. This shows a stage were people created their own photographic identity – here using still life.
(Bottom right) Leonardo Da Vinci took interest in explorations/advances in science – he was known for his drawings to do with the human body.
(Bottom middle) The camera Obscura was used by artists to achieve realistic images. The camera projected inverted images onto a surface in a dark place.
(Bottom left) Daguerre worked with Niepce to fix his original projected image created using the Daguerreotype.
Our Pinhole Cameras
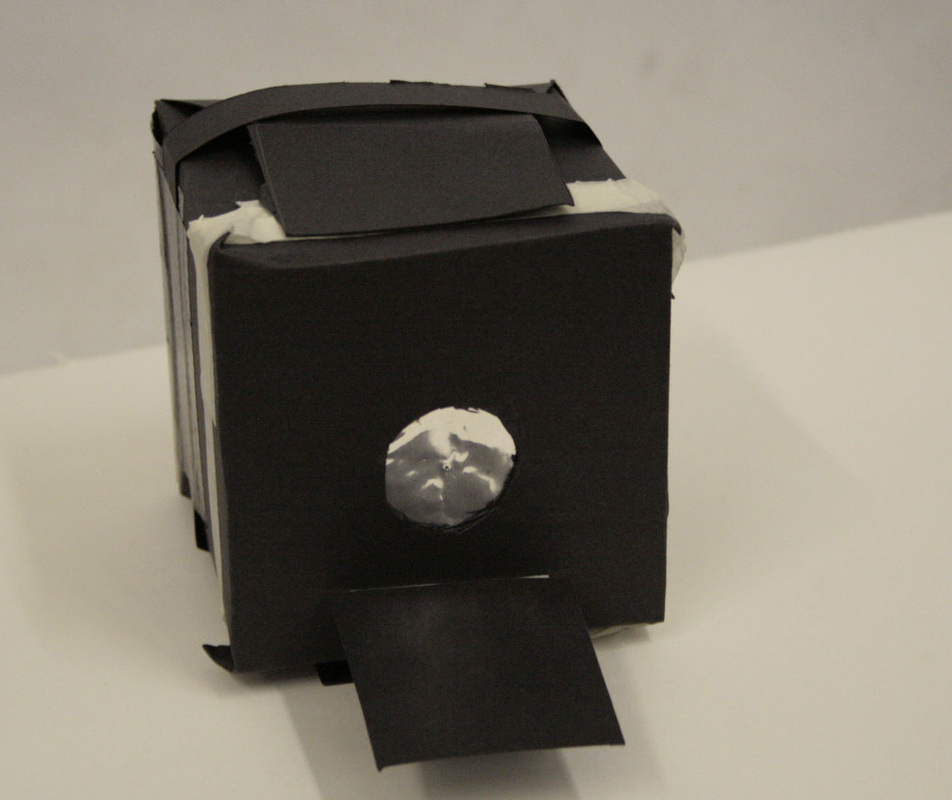
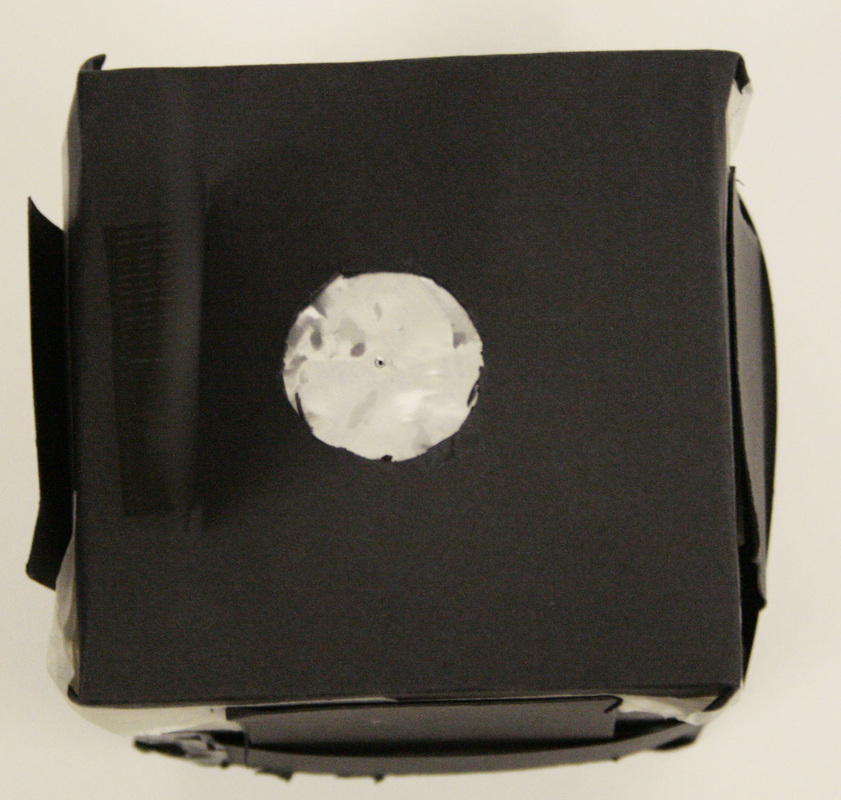
After looking at the early camera's - the Obscurer and the daguerreotype we started to create our own pinhole camera's. The image above shows my finished pinhole camera made by cutting card in a box shape and the creating flaps used to shut and close the back of the camera so we could load our photographic paper. The front of the camera involved a circle cutout and stuck behind it was foil. We created pin pricks in the foil to which were used when exposing the paper. We then created a flap at the front of the camera which worked as a shutter. This type of camera was inefficient as you had to unload and develop your image after every shot. However this it produced interesting results as shown below and helped in understanding a lot about dark room photography and how light works on photographic film and paper.
Pinhole Photography
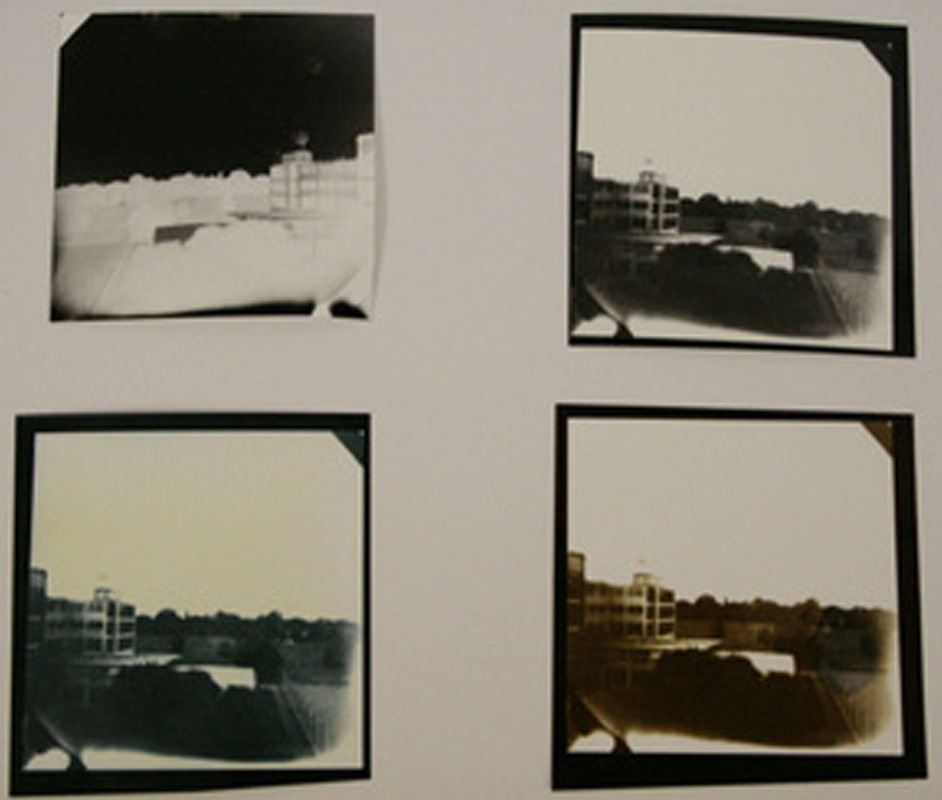
This image was the best result from my pinhole camera. It was taken from a window in my school and therefore was a landscape scenic photo of the buildings and fields opposite. I exposed for 12 seconds to gain this shot which worked very well to capture the building as it was a dull day meaning i needed to allow more light into the shutter. After printing the original shot i made three more copies of the image using an enlarger, a sheet of glass and another piece of photographic paper. After developing the other copies i decided to test with the toners. I toned 1 of them with blue toner and another with sepia toner. This worked very well on my images creating colour in the bottom left and right images as shown.
Early photograms and letters
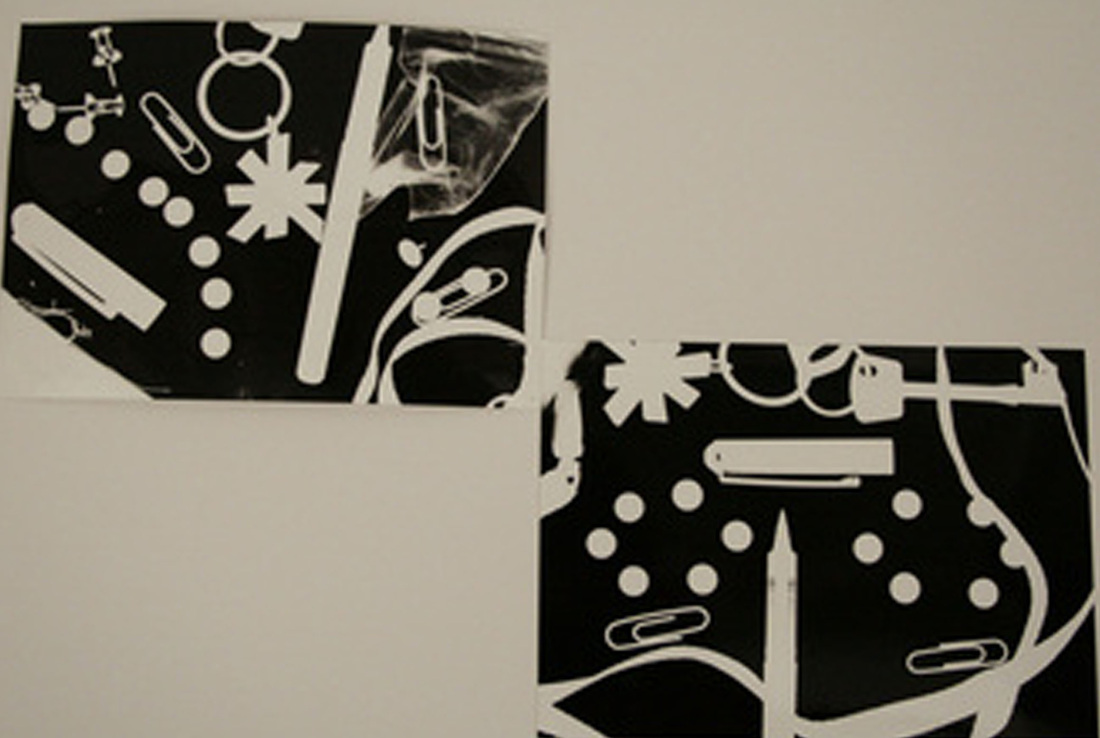
To learn more about the way photo paper reacts to light I created photograms. I looked for materials such as pins, pens, keys and other items to place on the photo paper when creating the photogram. To make the photogram I placed the paper under the light of the enlarger and placed the items on top of the paper. I then exposed the paper with the items on top for 15 seconds. The results shown below demonstrate the way in which the paper reacts to light - in the areas were i placed items the paper has not been exposed and therefore stays white. On the other hand, the areas of the paper that were exposed are black meaning you can clearly see the items that i placed on the image. These photograms were very successful with all the items needed or used in my daily life. The plastic bag had the strongest affect in the top left hand side of the photogram in the top right of the image below. The plastic bag with the paper clip inside it created different levels of exposure to the paper therefore you can see the wrinkles in the bag.
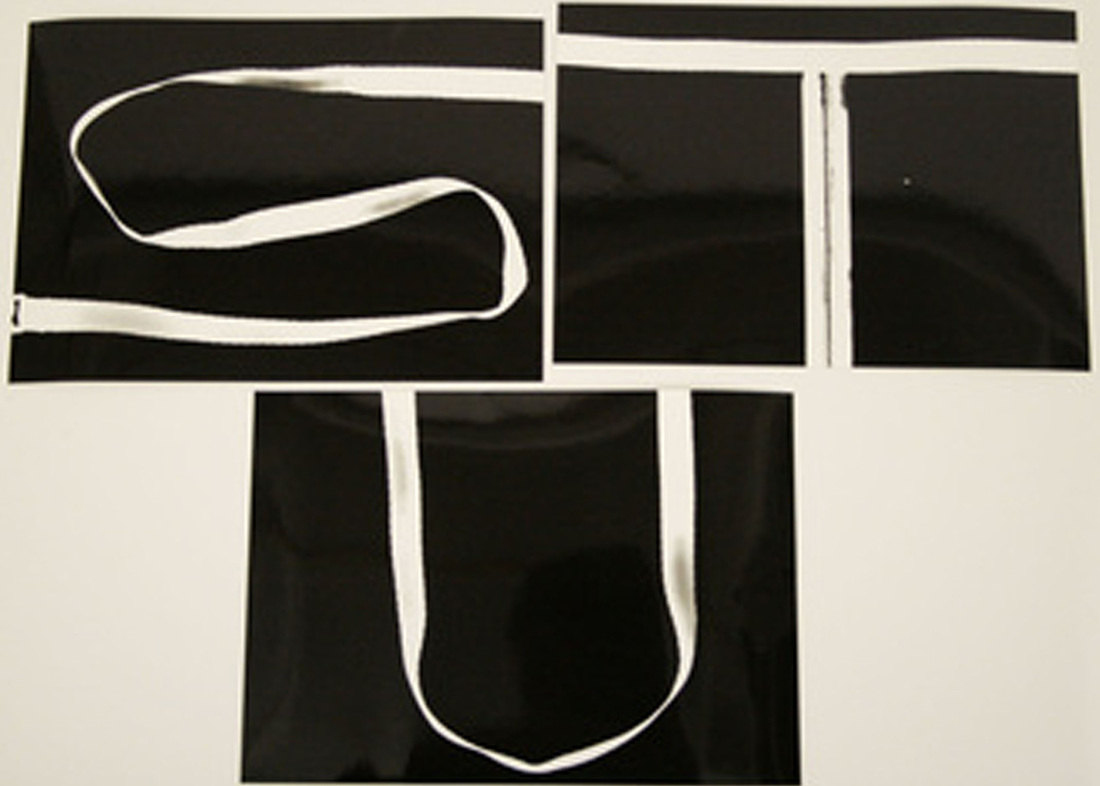
I used the same technique above to create my letters of the alphabet. As a class we used the skills we learnt when making a photogram and used them to create the alphabet using the same technique. I did the letters below using items such as pencils but also because my letters were not straight I used thick pieces of string. I chose the letters S T and U. This was successful as I used a long exposure time (15 seconds) meaning the letters came out clear on paper however it was quite hard to do the corners of the letters with the string meaning that in places the letter is thicker than in others.
Our First Film
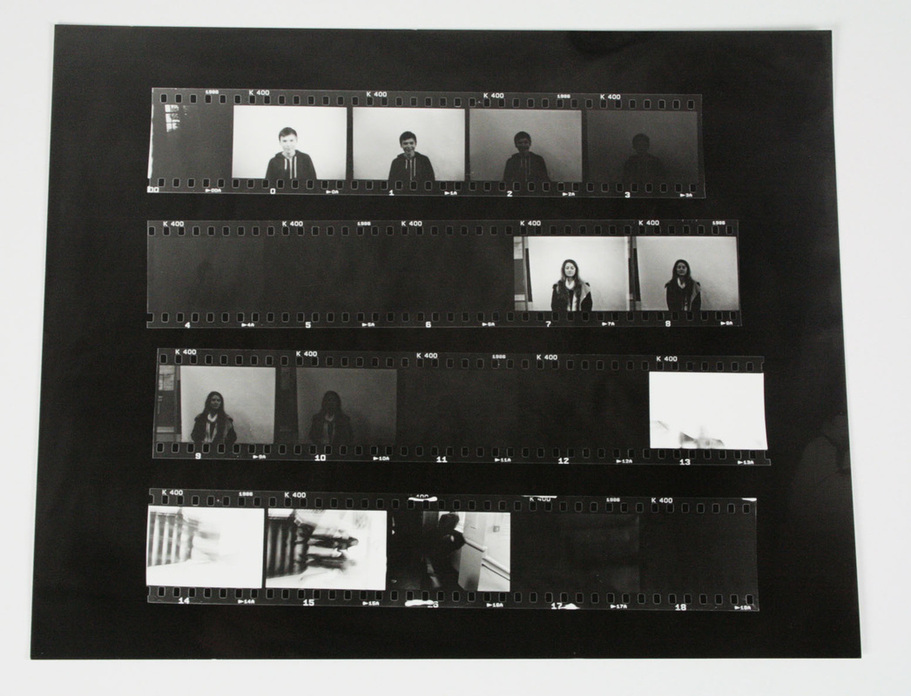
After learning about how the enlargers work we were taught how to load a film camera by opening the back as well as learning about apertures and shutter speeds. We got into groups of two and took portraits images of each other against a suitable white background. For each shot we tested different apertures, iso and shutter speeds. After we filled the film with the maximum possible images we learnt how to remove the film from the cassete in pitch black and then develop the film using developer and fixer liquids. Once we developed the film we cut the film in-between every six frames. We then took all the strips of our film and learnt how to create a contact sheet. We used bigger paper to create the contact sheet shown below. The contact sheet was very helpful in deciding which images had come out correctly, how long to expose each image and therefore to work out what images were best to print.
Results of 1st Film
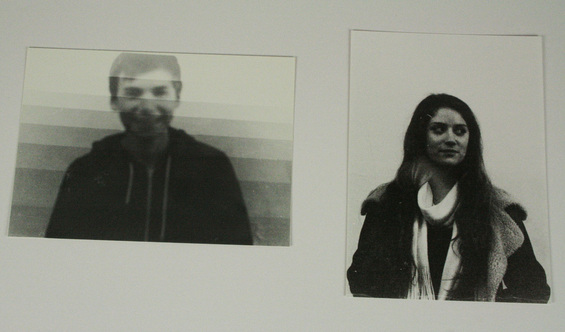
Below show to images from final results of our first film. I found experiencing manuel film photography relatively challenging having to remember all the different elements that make an image such as ISO, aperture, shutter speed and focus however I still managed to get a few good images. The first image on the left shows a test strip of one of the images from the film. We later decided not to print this image as the focus was very weak. However this, this test strip was very helpful in working out the exposure times when printing our images. The image on the left shows a more successful image from our film. This image shows a portrait image of my partner from this task. This image is a lot more in focus than the other image to the left. It involves nice contrast between the different items Lara is wearing for example the white scarf that stands out against the rest of her clothes. However this the focus is good but still not perfect. This was probably the best image from this film. Although this image is lacking slightly in focus and is a little bit dark it is still a good achievement for our first try at film photography.
Our 2nd Film
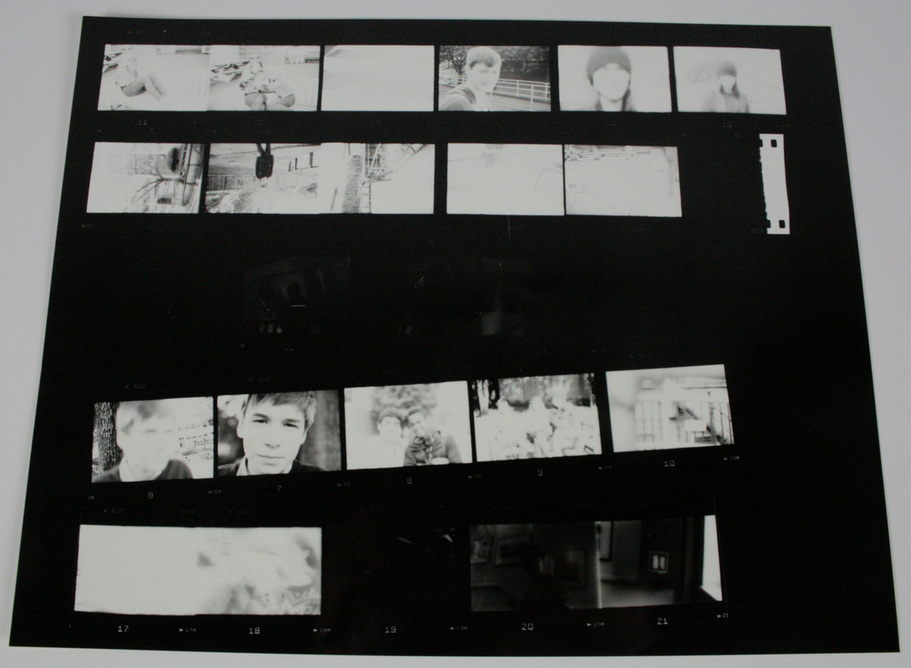
After completing our first film and looking back over it we figured out exactly how to improve - remembering this time all the different technicalities of a film camera. Below shows our contact sheet developed in the same way as before showing all of the images on our film. This film had more images than before that were definitely better than the first film. We developed this film in the exact same way however focused more on the iso, aperture and shutter speed when taking the themselves.
Results of 2nd film
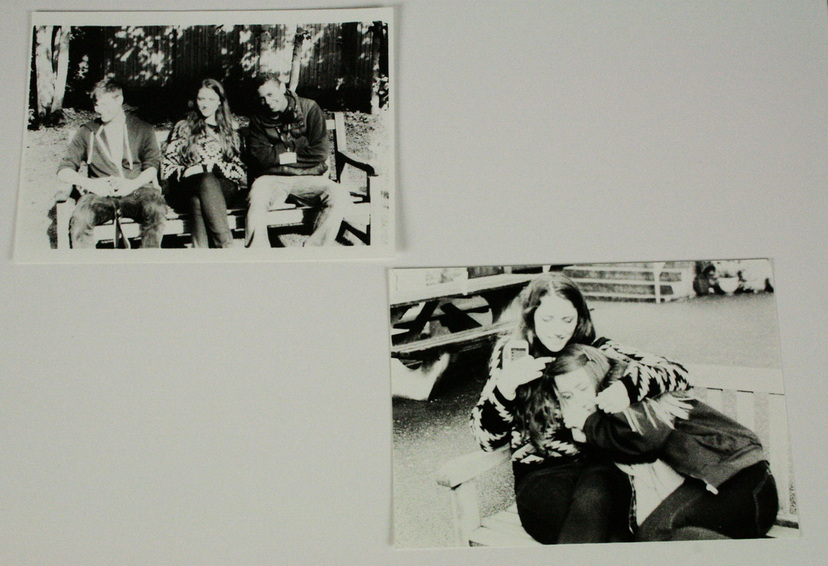
Below show two of the better images from our second film. Top left shows three people sitting on a bench. This photo has a nice contrast with the back of the image being dark whilst the subjects of the image are under the sun and therefore brighter than the rest of the image. This photo works particularly well - there is a strong contrast - the focus is also strong and the central composition of the three people on the bench is very interesting as the each take their own stance. This is probably one of the best images on this film however another particularly good image is shown below. Bottom right shows another two people sitting on a different bench in a very different stance to the other image. The contrast between this image differs from the top left hand side of the photo which is darker and the bottom left hand side of the image which is a lot lighter. Focus is once again very strong in this image however the faces of the people are a little bit too bright.
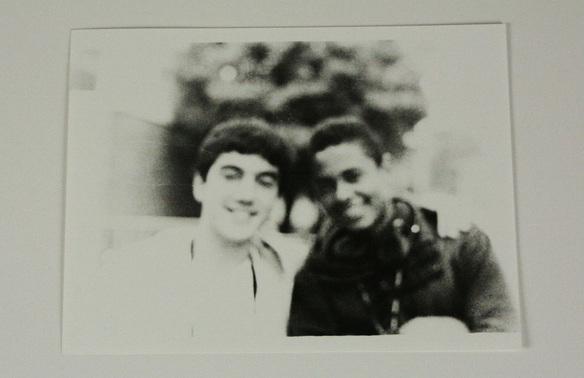
This is another good image from the film. This photo does lack focus however still seems to works nicely with the circular border surrounding it. The two people situated in the photo are the main focus of the image and the contrast is very much the opposite from one of the individuals to the other. The person on the right is bright white however the person on the left is a lot darker and together this creating a nice contrast between the individuals as if to represent a difference between them.
This project has been very enjoyable! I have learnt many different techniques in the dark room such as using my hands to shade different images but also more chemical experiments such as using sepia and blue toner to create different colours amongst the images!
